


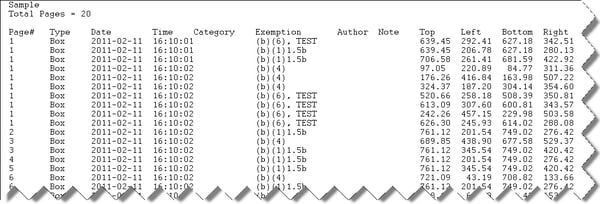
Introduction
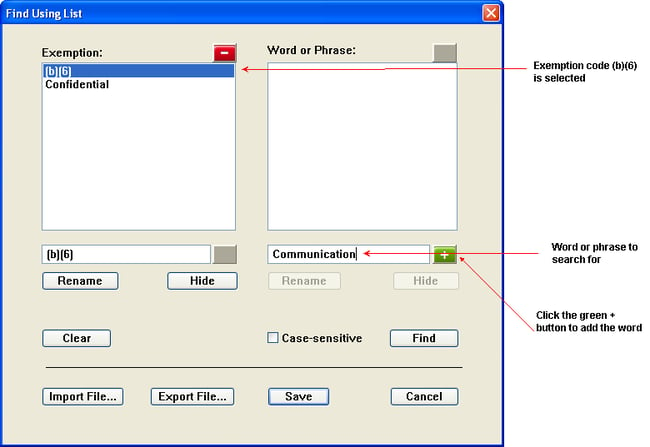
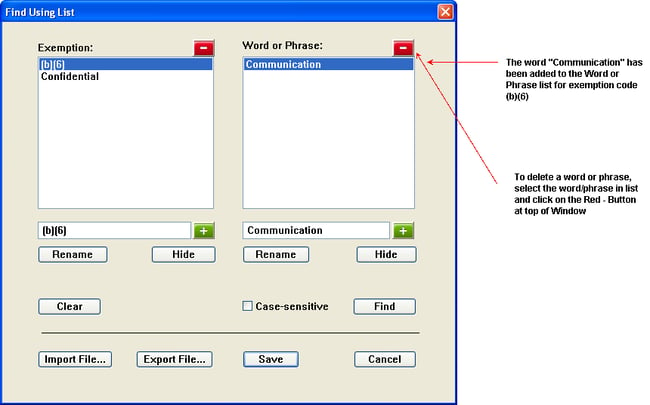
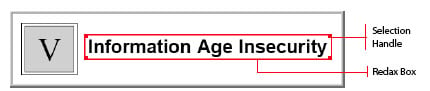
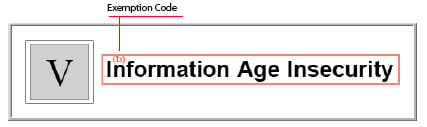
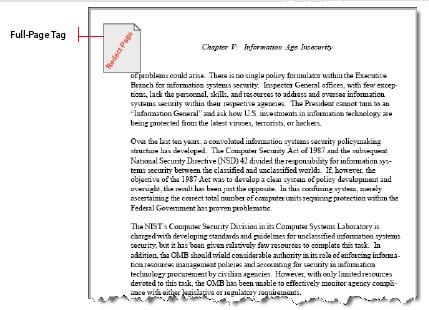
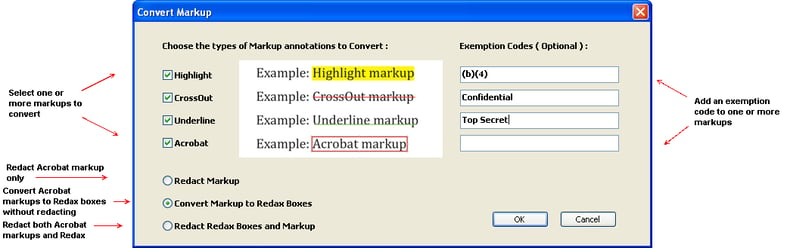
An exemption code is a word or a group of characters that indicates the reason for redacting a specific piece of information. An exemption code palette contains a set of related exemption codes. Using exemption code palettes, you can quickly apply one or more exemption codes to a Redax box or Full-Page tag.
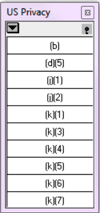
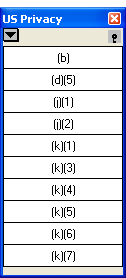
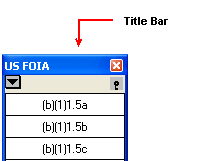
Two exemption code palettes are supplied with Redax: the FOIA (Freedom of Information Act) palette and the Privacy Act palette. The exemption codes on these palettes are described in Exemption Code Palettes.
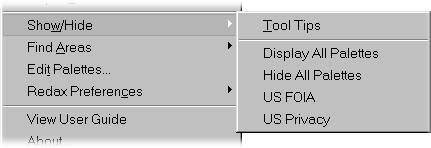
If the default palettes do not meet your needs, you can customize them, create new ones, or import existing palettes from previous versions of Redax. You can also customize or delete the exemption codes or reasons on a palette. And, if you no longer need a palette, you can delete it.
Creating a new palette
You can create as many palettes as you need, each with its own unique set of exemption codes or reasons. To add a new palette:
-
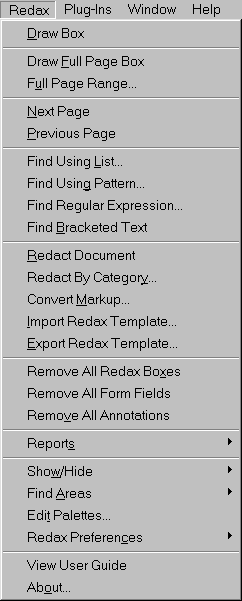
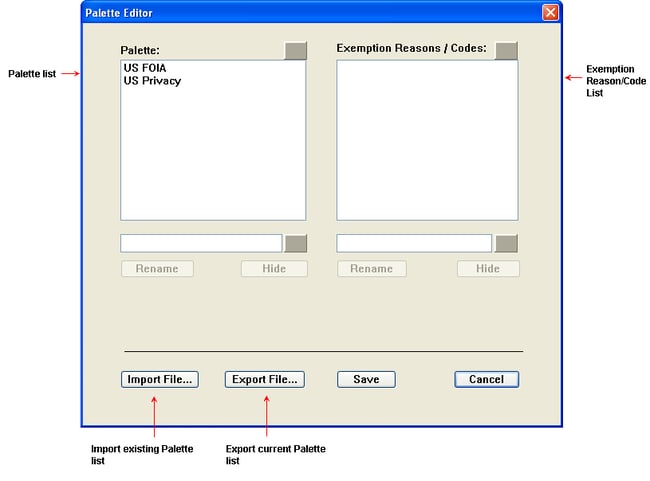
Select Redax > Edit Palettes. The Palette Editor opens as shown below.
-
To add a new Palette, click inside the white space above “Rename”. In the text box just above the Rename button, enter a name for the new palette, and then click on the green + button.
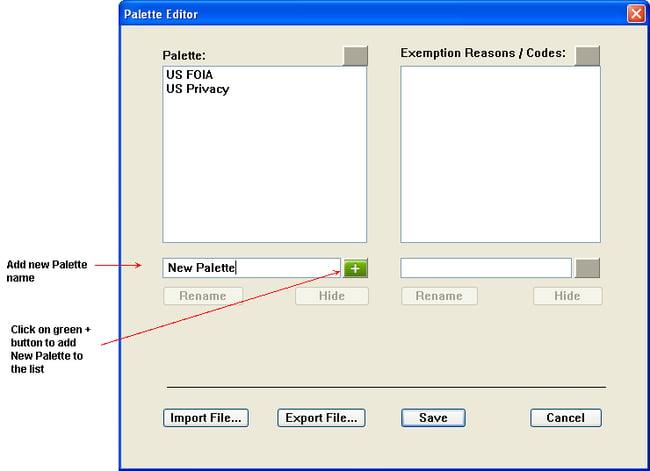
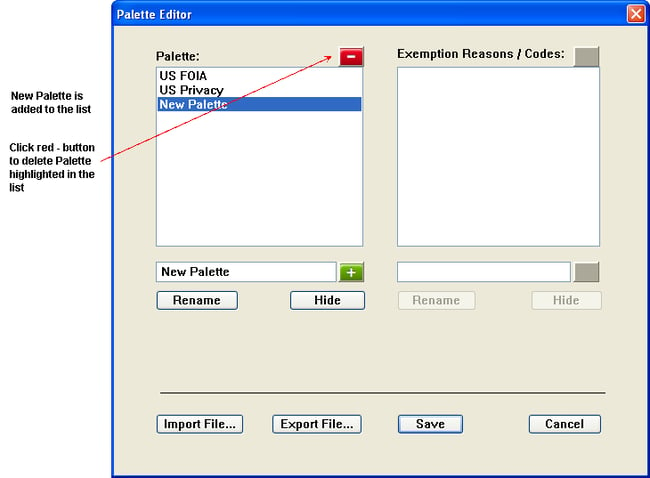
The name is added to the palette list and is highlighted so that you can continue to work with it. In addition, if you need to remove the Palette name, you can highlight the name in the list and click on the red – button.
-
Enter an exemption code or other reason for exemption in the text box above the Rename button on the right side of dialog, and then click the green + button. The reason can be a word, phrase, or established exemption code.
Examples:
Private
Out of Scope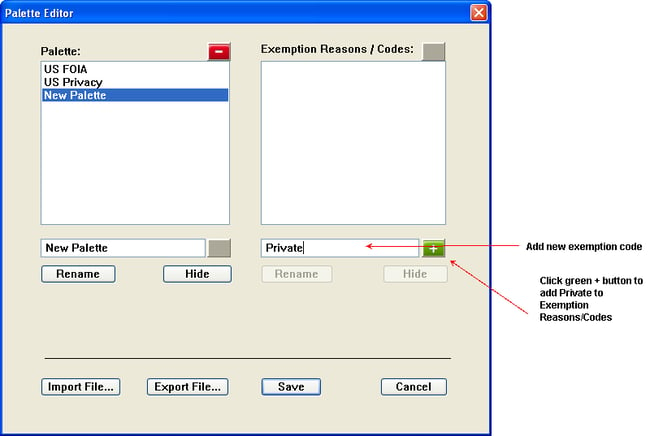
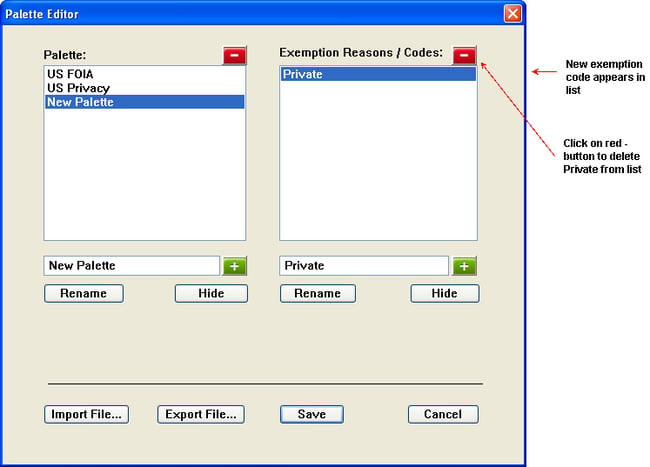
Your entry is added to the Exemption Reasons / Codes list. If you need to remove a reason/code, highlight the reason/code in the list and click on the red – button. The reason/code will be removed.
-
Repeat the previous step until you are finished adding exemption codes.
-
Click OK. The Palette Editor closes, and the new palette is available for use.
Tip! If you have other tasks to perform in the Palette Editor, you can wait until you finish all of them to click the OK button. When you click OK, all of your Palette Editor changes are saved.
Importing and exporting palettes
If you have customized palettes from a previous version of Redax, you can save time by importing rather than re-creating them. You can also export your customized palettes to share with others.
To import a palette
-
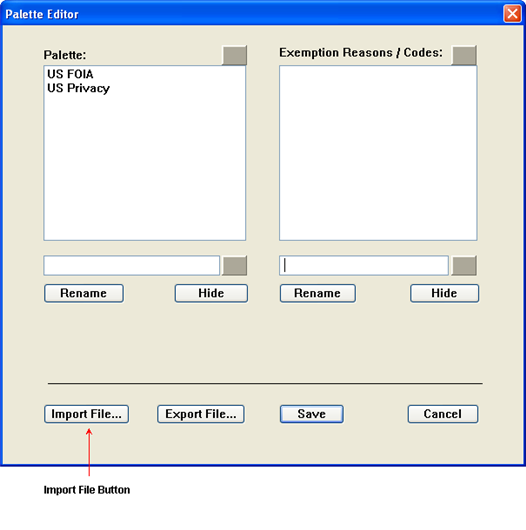
Select Redax > Edit Palettes.
-
Click the Import File button. The Palettes File dialog box opens.
-
Browse to where you stored your custom palette on your computer, select the file and click Open.
-
Click OK. The Palette Editor closes and the imported palettes are available for use.
Tip! If you have other tasks to perform in the Palette Editor, you can wait until you finish all of them to click the OK button. When you click OK, all of your Palette Editor changes are saved.
To export a palette
-
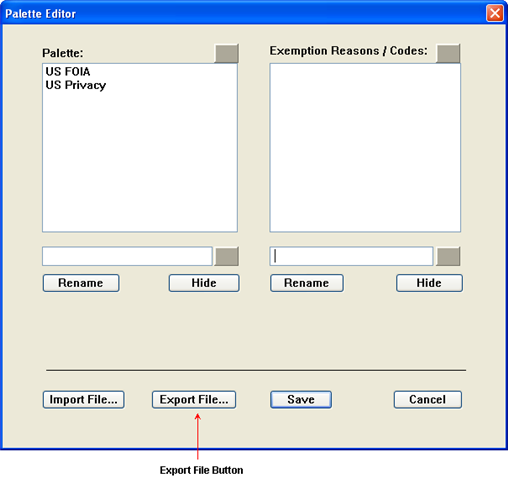
Select Redax > Edit Palettes.
-
Click the Export File button.
-
The Palettes File dialog box opens with the default name of myPalettes.txt in the file name field. Save the file in a directory so you can access it later. All Palettes in the list are saved in the new myPalettes.txt file.
Note: If you delete a palette in this dialog, it will not be saved when you export and you will need to re-add the palette along with the exemption codes.
-
Click OK. The Palette Editor closes.
Tip! If you have other tasks to perform in the Palette Editor, you can wait until you finish all of them to click the OK button. When you click OK, all of your Palette Editor changes are saved.
Customizing or deleting a palette
You can add reasons or exemption codes to an existing palette, or rename, show, hide or delete the palette.
To customize or delete an existing palette, follow these steps:
-
Select Redax > Edit Palettes. The Palette Editor opens.
-
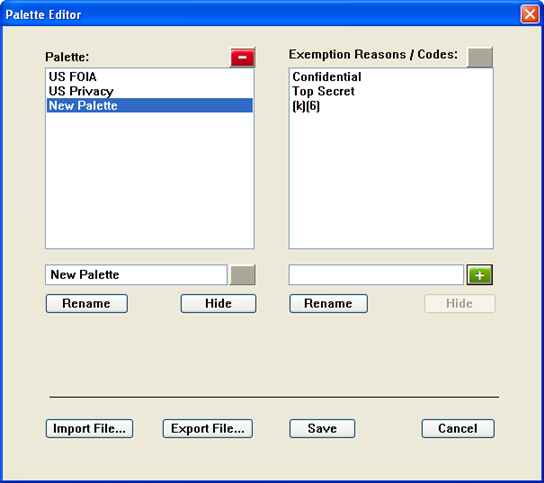
In the Palette list, select the palette you want to customize or delete.
The palette name is highlighted and displayed in the text box above the Rename Palette button as displayed in the figure below:
-
Do one or more of the following:
- To add a reason or exemption code to a palette, make sure the Palette name is highlighted on the left side of dialog. Click on white space on right side just above the “Rename” button, enter the reason/code in the text box and click on the green + button. The reason can be a word, phrase, or established exemption code.
Examples:
Confidential
Top Secret
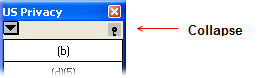
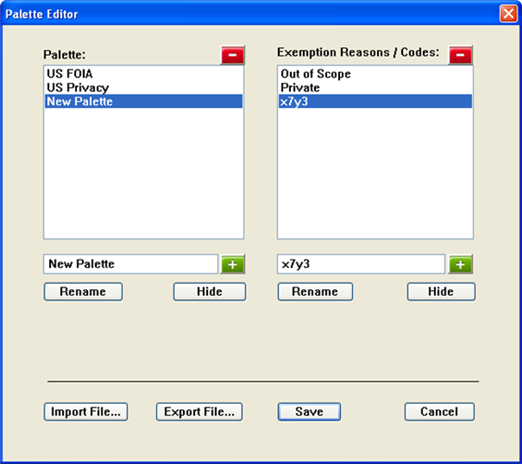
(k)(6) - To rename the palette, click on the name under Palette. The name will appear in the text box above “Rename” button. Type the new name in the text box above the Rename button and then click Rename button.
- To hide the palette, click on the name under Palette and then click Hide button. The palette name is appended with ~hidden. Note that if the Hide button appears to be dimmed, the palette is already hidden.
- To show the palette, click on the name under Palette and then click Show. Note that if the Show button appears to be dimmed, the palette is already displayed.
-
To delete the palette, click on the name under Palette and then click the red – button. Note that if you decide you do not want to delete the palette, click on the Cancel button and re-open the Palette Editor.
- To add a reason or exemption code to a palette, make sure the Palette name is highlighted on the left side of dialog. Click on white space on right side just above the “Rename” button, enter the reason/code in the text box and click on the green + button. The reason can be a word, phrase, or established exemption code.
-
When you are finished, click OK. Your changes are saved and the Palette Editor closes.
Tip! If you have other tasks to perform in the Palette Editor, you can wait until you finish all of them to click the OK button. When you click OK, all of your Palette Editor changes are saved.
Customizing or deleting a reason or exemption code
You can rename, show, hide or delete an existing reason or exemption code on a palette. To customize or delete a reason or exemption code:
-
Select Redax > Edit Palettes. The Palette Editor opens.
-
In the Palette list, select the palette you want to work with. The palette name is highlighted and displayed in the text box above the Rename button.
-
In the Exemption Reasons / Codes list, select the reason or code you want to customize or delete. The reason/code is highlighted and displayed in the text box above the Rename button.
-
Do one or more of the following:
- To rename the reason or code, type a new name in the text box above the Rename button and then click Rename.
- To hide the reason or code, select the reason/code under Exemption Reasons/Codes and click Hide.
Note: If the Hide button appears to be dimmed, the reason/code is already hidden.
- To show the reason or code, select the reason/code under Exemption Reasons/Codes and click Show.
Note: If the Show button appears to be dimmed, the reason/code is already displayed.
-
To delete the reason or code, select the reason/code under Exemption Reasons/Codes and click the red – button.
-
When you are finished, click OK. Your changes are saved and the Palette Editor closes.
Tip! If you have other tasks to perform in the Palette Editor, you can wait until you finish all of them to click the OK button. When you click OK, all of your Palette Editor changes are saved.


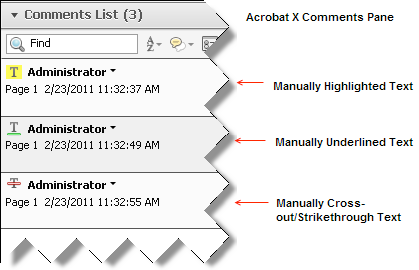
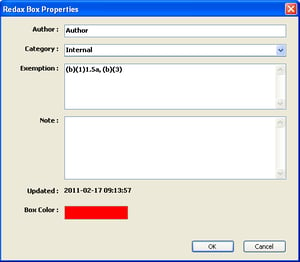
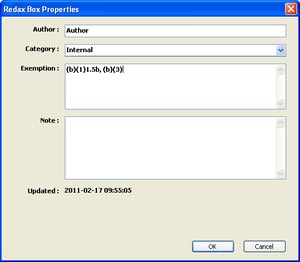
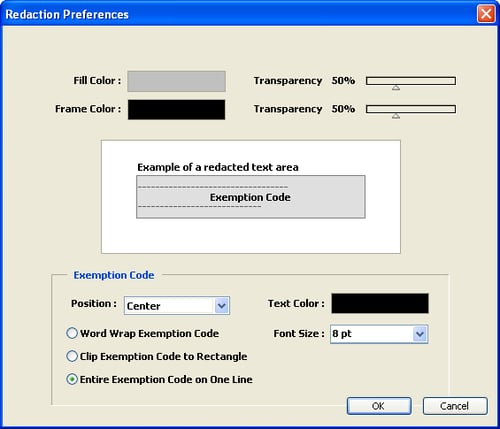
.png?width=350&height=306&name=RedaxBoxProp1-50%20(1).png)
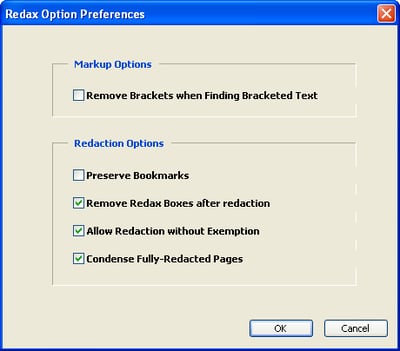
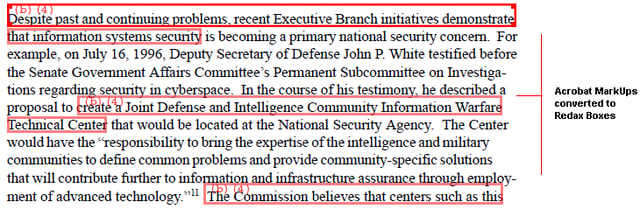
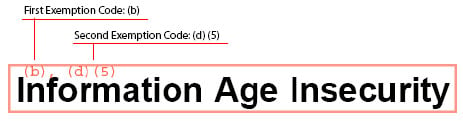
.png?width=375&height=282&name=MarkUpRedact-50%20(1).png)